
Ever wish you could bring the magic of snow indoors—without the frostbite and the mess of melting puddles? Well, guess what? You totally can! And no, you don’t need a fancy snow machine or a one-way ticket to the Arctic. All you need are two simple ingredients (yes, really) to create fluffy, moldable, and oh-so-satisfying fake snow right at home, let’s dive into How Do You Make 2 Ingredient Snow?
I first discovered this magical DIY snow when my niece demanded a “snow day” in the middle of July. With no actual snow in sight (unless you count freezer frost), I did a little experimenting, and boom—indoor winter wonderland achieved! It’s super easy to make, feels like the real thing, and keeps kids entertained for hours.
So, whether you’re crafting a winter sensory bin, making snowmen in your living room, or just looking for a fun hands-on activity.
Essential Ingredients for 2-Ingredient Snow
The Two Simple Ingredients You’ll Need
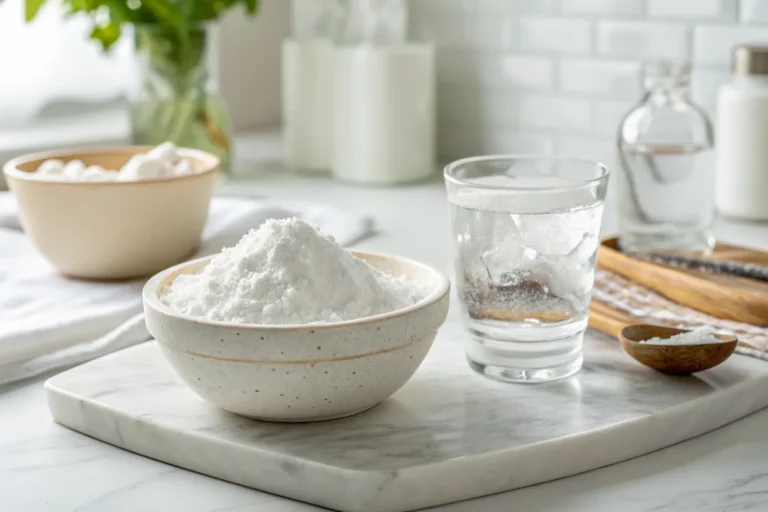
Alright, here’s the best part—this recipe only requires two pantry-friendly ingredients:
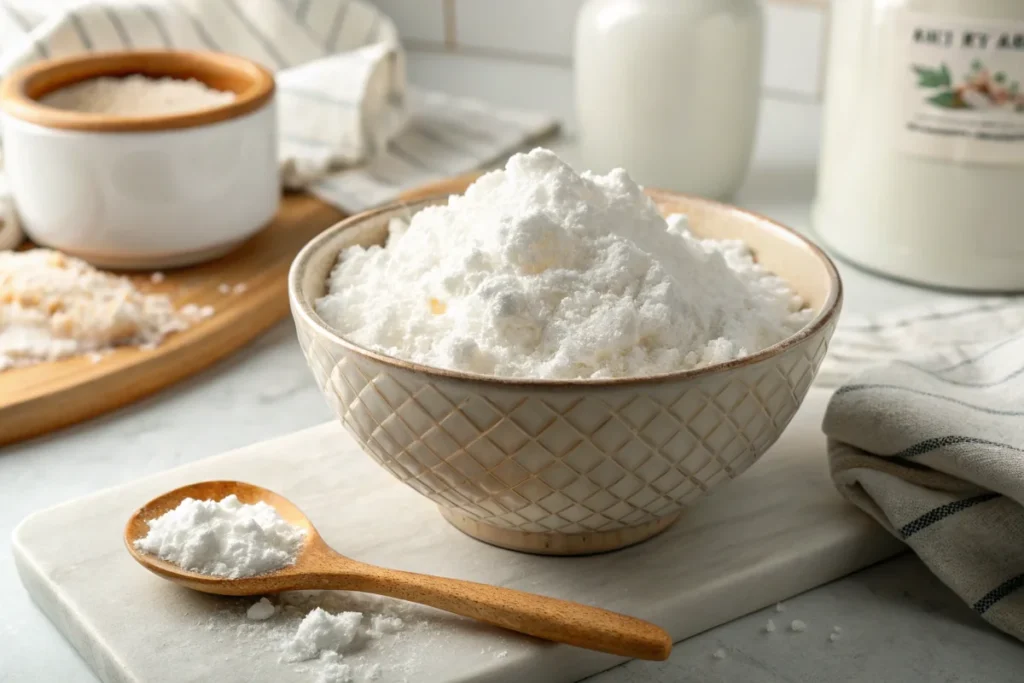
- Baking Soda (1 cup) – The magic base that gives the snow its soft, powdery texture.
- White Hair Conditioner (¼ cup) – This is what transforms the baking soda into fluffy, cold-feeling, moldable snow. Choose a white, unscented conditioner for the most realistic look.
That’s it! No freezing, no special powders—just everyday stuff you probably already have.
Optional Additions for Extra Fun
If you want to take your fake snow to the next level, consider adding:
- Glitter – Because everything is better with sparkle!
- Essential Oils – A drop of peppermint or vanilla makes it smell like a winter dream.
- Small Figurines – Perfect for creating mini snow scenes or sensory play.
- Food Coloring – Want blue or pink snow? Just a drop will do!
Alright, now that you’ve got your ingredients lined up, let’s get mixing!

Step-by-Step Instructions – How Do You Make 2-Ingredient Snow?
Preparing Your Ingredients
First things first—gather your materials and clear a workspace. This can get a little messy (in the best way possible), so I recommend using a large bowl, tray, or even a baking sheet to mix everything together.
If you’re doing this with kids, now’s a good time to roll up their sleeves and embrace the chaos.
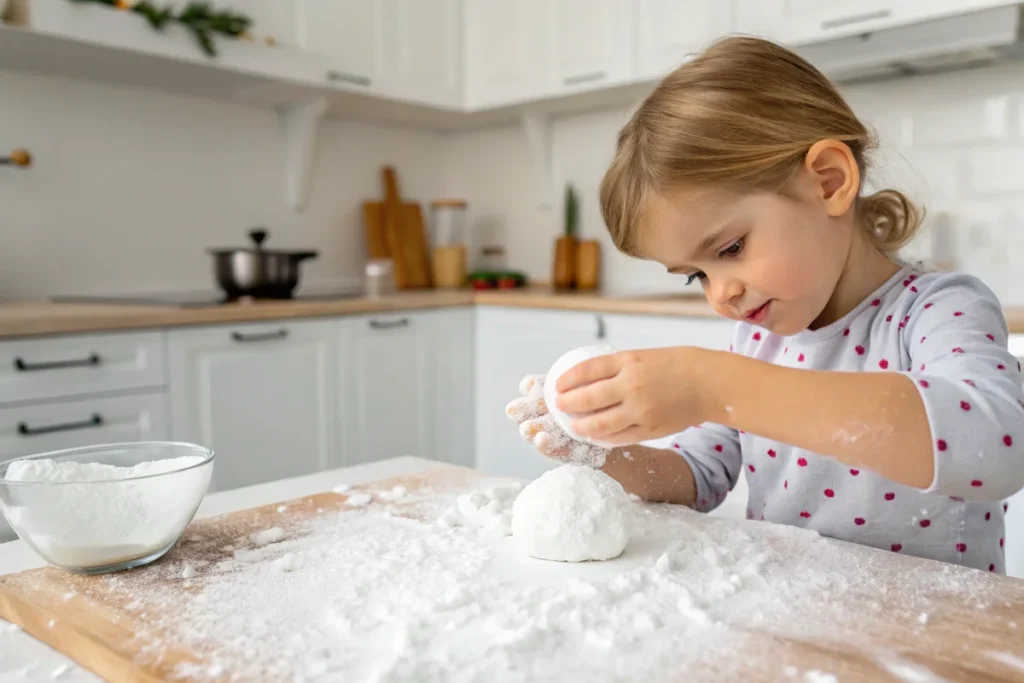
Mixing to Get the Perfect Snow-Like Texture
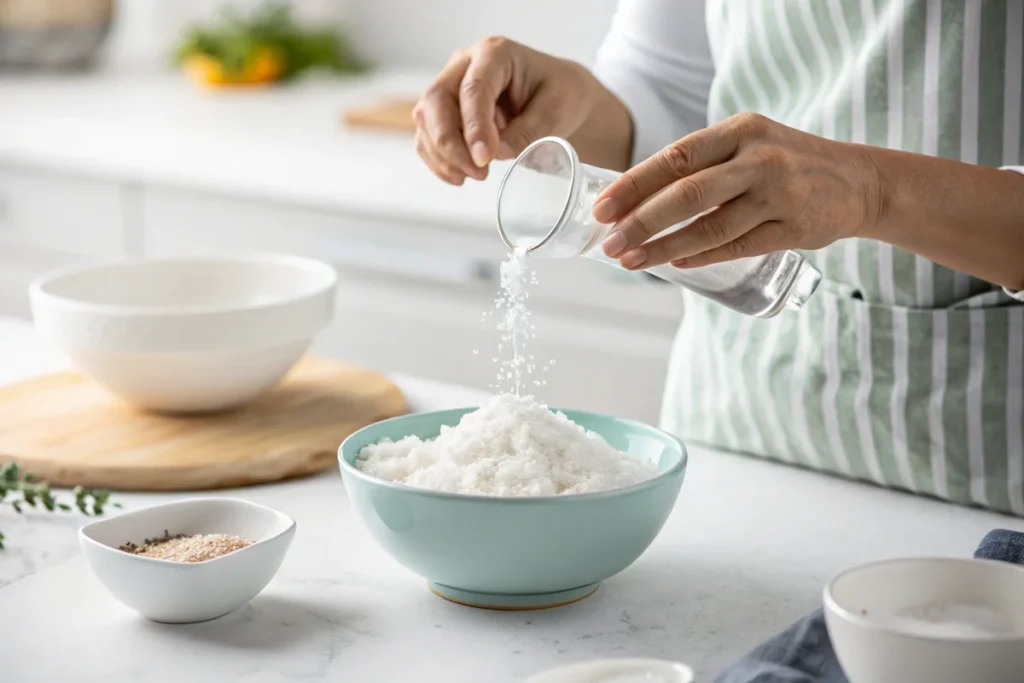
- Pour 1 cup of baking soda into a bowl. If you want a bigger batch, just double or triple the amounts.
- Add ¼ cup of white hair conditioner. Go slow—it’s easier to mix in more later than to fix an overly wet batch.
- Stir with a spoon (or your hands). You’ll start to see the baking soda absorb the conditioner, forming a soft, moldable texture.
- Keep mixing until it feels like fresh powdery snow! If it’s too dry and crumbly, add a tiny bit more conditioner. If it’s too sticky, sprinkle in extra baking soda.
Adjusting Consistency for Different Play Styles
- For fluffy, powdery snow – Use a little less conditioner so it crumbles easily.
- For moldable snow (great for making tiny snowmen!) – Add a bit more conditioner until it holds its shape.
- For a colder snow experience – Pop the baking soda in the freezer for 10-15 minutes before mixing. Instant winter vibes!
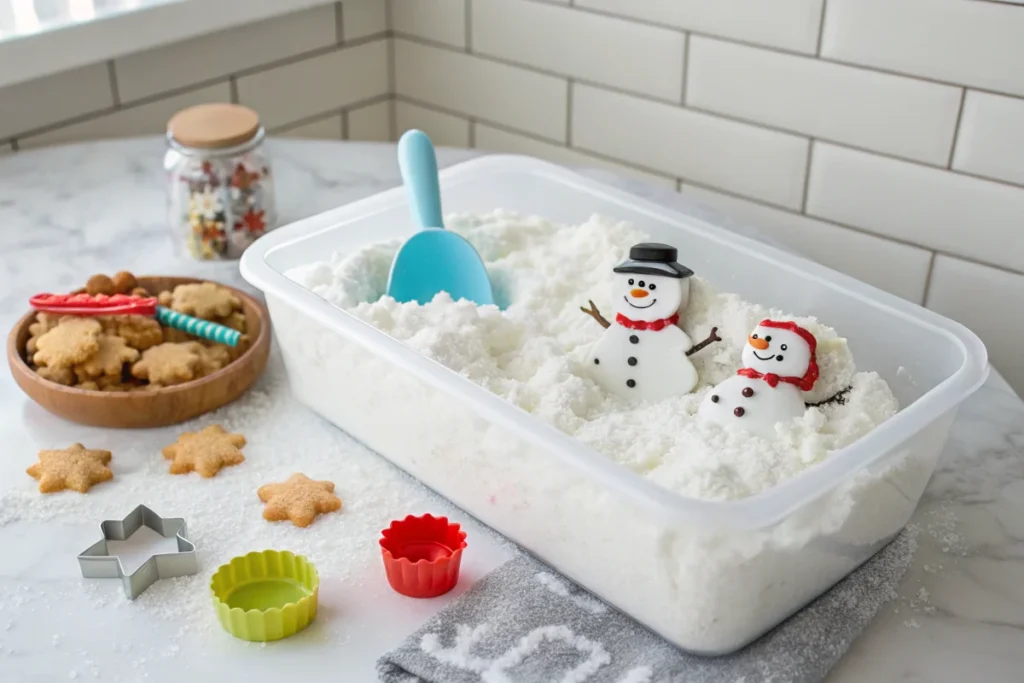
Fun Ways to Use Your Homemade Snow
Now that you’ve got your perfect DIY snow, here are some fun ways to play:
- Build mini snowmen – Use buttons, beads, and twigs for decorations.
- Create a winter wonderland sensory bin – Add small toys, scoops, and cups for kids to explore.
- Fake a snowball fight – Lightly mold small snowballs and toss them (indoors or out).
- Use it as holiday décor – Sprinkle it around decorations for a festive touch.
Helpful Tips on How Do You Make 2 Ingredient Snow?
How to Make It Last Longer
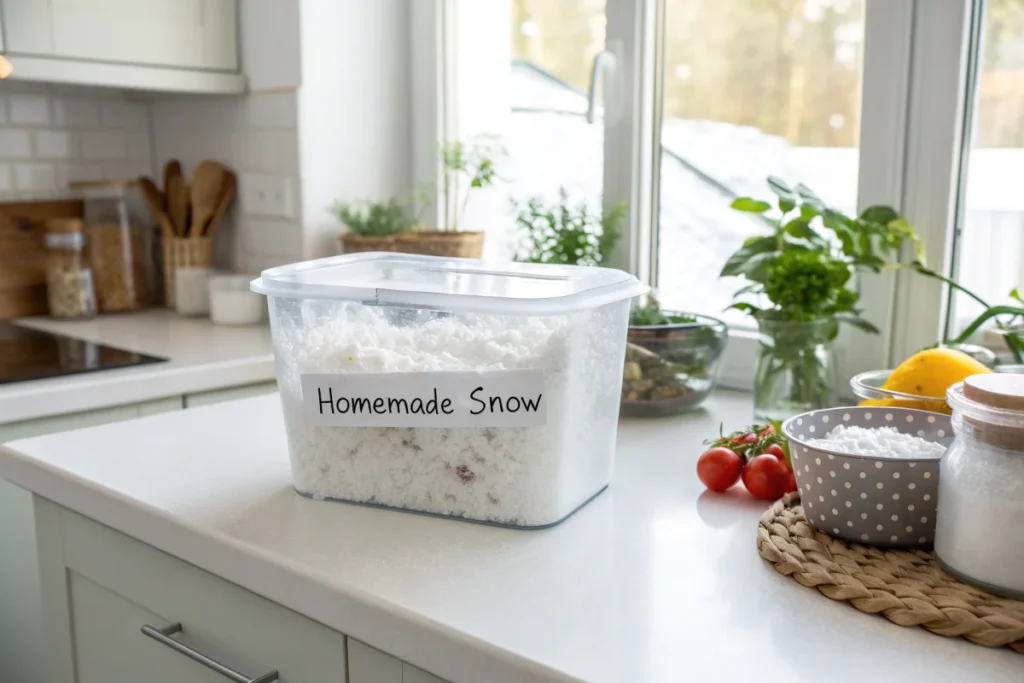
While this fake snow isn’t permanent (sad, I know), you can extend its lifespan by:
- Storing it in an airtight container when not in use.
- Keeping it in a cool, dry place to prevent it from drying out too quickly.
- Adding a few drops of conditioner if it starts to feel too crumbly.
If it gets dirty or starts smelling weird (thanks to tiny, sticky hands), it’s best to whip up a fresh batch.
Adjusting the Texture for Moldability
Not happy with how your snow is holding up? No worries!
- Too dry? Add a tiny bit more conditioner and mix again.
- Too sticky? Sprinkle in extra baking soda and work it through.
- Want it colder? Store it in the fridge for a bit before playtime.
The beauty of this recipe is how easy it is to tweak!
Easy Cleanup Tips
Let’s be real—this snow is fun, but it will get everywhere. The good news? It’s super easy to clean up:
- Dry snow? Just sweep or vacuum it up.
- Wet or sticky bits? A damp paper towel does the trick.
- On clothes? Shake it out before tossing them in the wash.
Oh, and don’t dump it down the sink—it can clog drains. Toss it in the trash instead.
Frequently Asked Questions About 2-Ingredient Snow
Is This Fake Snow Safe for Kids?
Absolutely! It’s made from non-toxic ingredients, so it’s totally safe for little hands. That said, it’s not edible, so if you have tiny ones who love to taste-test everything, keep an eye on them.
Can I Use Alternative Ingredients?
Yep! If you don’t have hair conditioner, try these swaps:
- Lotion – Works similarly and keeps hands soft.
- Shaving cream – Creates a fluffier, cloud-like texture.
- Cornstarch instead of baking soda – Gives a slightly different feel but still works well.
How Long Does It Stay Playable?
It depends on how often it’s used and how well it’s stored. Generally, it lasts a few days to a week if kept in an airtight container. If it starts drying out, just mix in a little more conditioner.
Serving Suggestions – Creative Ways to Play with 2-Ingredient Snow
Sensory Bin Ideas for Kids
If you’ve got little ones, a sensory bin filled with DIY snow is a guaranteed hit. Just grab a large plastic bin and add:
- Scoops and spoons – Let kids dig, pour, and bury objects in the snow.
- Mini toy animals or figurines – Create a winter wonderland for their favorite characters.
- Cookie cutters – Perfect for making fun snow shapes.
- Pinecones and twigs – For a more natural, wintery feel.
Not only is it fun, but it also helps with fine motor skills and creative play.
Themed Play Activities for Winter Fun
Want to make it even more exciting? Try these fun ideas:
- Snowy Construction Site – Add toy trucks and let kids “plow” the snow.
- Frozen Treasure Hunt – Hide small toys or beads in the snow and let them dig for treasure.
- Arctic Adventure – Add toy polar bears and penguins for a cool wildlife scene.
- Winter Baking Pretend Play – Use toy baking tools to “make” snow cakes and cookies.
Trust me—kids will be entertained for hours. (Which means you might actually get to drink your coffee while it’s still hot!)
Storage & Reheating – Keeping Your Fake Snow Fresh
Best Ways to Store for Future Use
If you want to keep your snow fresh, follow these simple storage tips:
- Place it in an airtight container – This keeps it from drying out.
- Store in a cool, dry place – Avoid heat and humidity, or it’ll get too sticky.
- Check before reusing – If it smells funky or looks off, toss it and make a new batch.
Can You Rehydrate Dried-Out Snow?
Yep! If your snow has dried out, just:
- Sprinkle in a few drops of conditioner and mix well.
- Add a little water (sparingly!) if it’s still too dry.
- Knead it with your hands to restore that fluffy texture.
Good as new!
Closing Remarks
And there you have it—your very own indoor snow day with just two simple ingredients! Whether you’re making snowmen, setting up a sensory bin, or just feeling a little winter nostalgia, this DIY snow is the perfect way to bring frosty fun indoors—without the freezing temperatures.
So go ahead, grab some baking soda and conditioner, and let the snow festivities begin! ❄️
You May Also Like:
If you love desserts, here are some sweet treats you might enjoy:
- Strawberry Cream Cheese Pound Cake – A rich and moist pound cake infused with strawberry and cream cheese flavors.
- Quesillo Venezolano: Classic Dessert – Venezuela’s take on flan, featuring a smooth and caramelized texture.
- Difference Between Crème Brûlée and Flan – A deep dive into the unique textures and flavors of these two beloved custard-based desserts.