

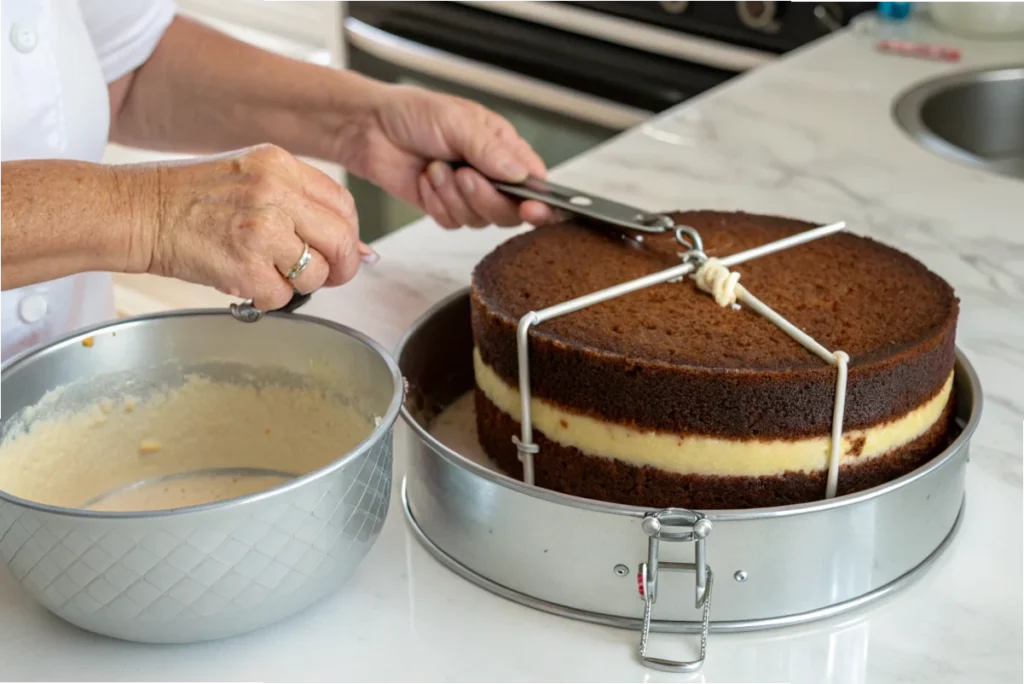
Have you ever baked a cake only to find the edges overcooked while the center remains underdone? Or perhaps your cake comes out with a domed top that requires extra trimming. If this sounds familiar, cake strips might be the solution you need.
Cake strips are an excellent tool for ensuring even heat distribution around your cake pans, helping you achieve flat, perfectly baked cakes every time. But using them effectively requires a critical step: understanding How Wet Should Cake Strips Be?
What Are Cake Strips and Why Use Them?
Definition of Cake Strips
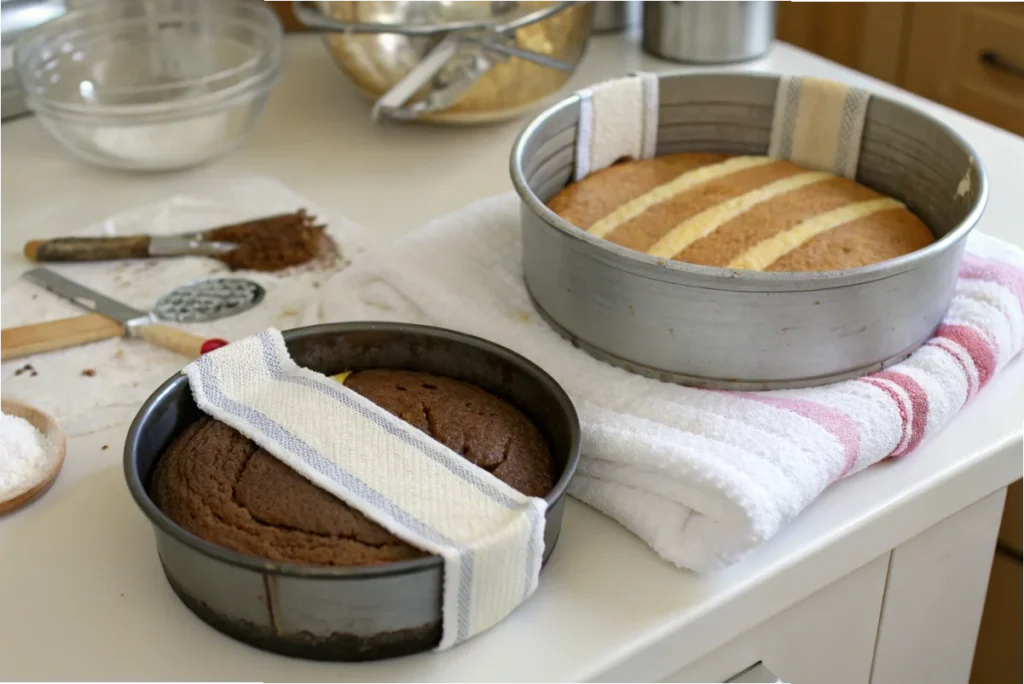
Cake strips are insulated bands designed to wrap around the outside of cake pans during baking. These strips, often made of heat-resistant fabric, are soaked in water and help regulate the temperature of the cake pan.
By keeping the edges of the pan cooler, cake strips allow the batter to bake more evenly from the center outward. This simple tool is a favorite among bakers looking to achieve professional results at home.
Benefits of Using Cake Strips
Here’s why cake strips are a game-changer for baking:
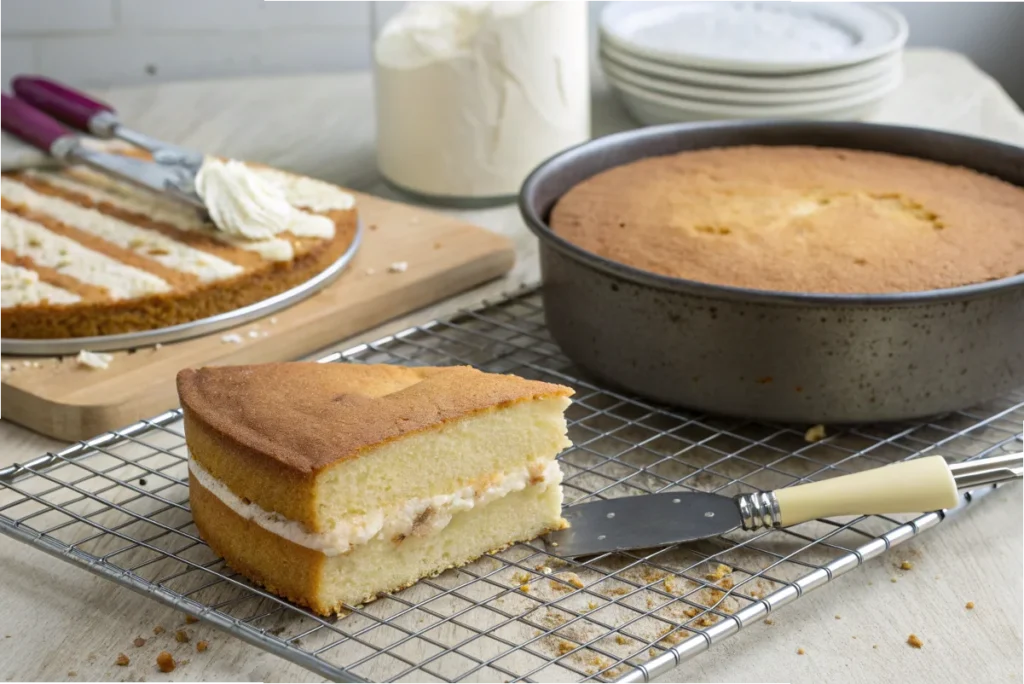
- Prevents Domed Tops: Cake strips help cakes bake evenly, reducing the likelihood of a domed or cracked surface.
- Reduces Waste: Flat cakes mean less trimming, which saves time and reduces waste.
- Improves Texture: Even baking ensures consistent texture throughout the cake, eliminating dry edges and undercooked centers.
- Enhances Appearance: Perfectly flat layers make stacking and decorating cakes much easier, especially for multi-tiered creations.
How They Work
The secret behind cake strips lies in their ability to regulate heat. When wrapped around the pan, the wet strips cool the edges slightly, preventing them from cooking faster than the center.
Without cake strips, the edges of the cake bake and set quickly, forcing the center to rise and create a dome. By slowing down the baking process along the edges, cake strips ensure the entire cake cooks at the same rate.
How Wet Should Cake Strips Be?
The Right Amount of Moisture
One of the most important steps in using cake strips effectively is getting the wetness level just right. Cake strips should be fully saturated with water but not dripping wet. If the strips are too dry, they won’t effectively regulate the pan’s temperature. On the other hand, strips that are excessively wet can create steam, leading to soggy edges or uneven baking.
Think of the perfect level as damp but not soaking. When squeezed, the strips should release no excess water while remaining moist to the touch.
Step-by-Step Wetting Process
Here’s how to prepare your cake strips for optimal results:
- Soak the Strips: Place the cake strips in a bowl of cold or room-temperature water. Submerge them fully for about 5–10 minutes to ensure they absorb as much water as possible.
- Squeeze Out Excess Water: After soaking, gently wring out the strips. They should be damp but not dripping.
- Check for Even Saturation: Run your fingers along the strip to ensure there are no dry spots or inconsistencies.
By following these steps, you’ll achieve the ideal moisture level to help your cake bake evenly.
Signs of Properly Wet Cake Strips
Not sure if your cake strips are ready? Look for these signs:
- Even Dampness: The strip should feel uniformly moist without dry areas.
- No Dripping Water: When held, the strip should not release water.
- Cool to the Touch: A properly wet strip will feel cool but not overly wet or messy.
Getting the moisture level right ensures your cake strips do their job effectively, resulting in beautifully baked cakes.
Tips for Perfect Results with Cake Strips
Using cake strips effectively requires a bit of practice and attention to detail. Here are some tips to help you achieve the best results every time.
Adjusting Baking Times
Since cake strips keep the edges of the pan cooler, they can slightly extend the baking time. To ensure your cake bakes evenly and is fully cooked:
- Check the cake 5–10 minutes before the recipe’s recommended time to assess progress.
- Use a toothpick or cake tester to confirm doneness. Insert it into the center of the cake—if it comes out clean or with a few crumbs, the cake is ready.
- If your cakes consistently take longer with strips, adjust your oven temperature down by 5–10°F for future bakes.
Preventing Soggy Edges
To avoid soggy or overly moist cake edges:
- Ensure your strips are damp but not dripping wet before wrapping them around the pan. Excess water can create steam, leading to mushy edges.
- For thicker cakes, consider partially drying the strips after soaking to reduce moisture further.
Storing and Maintaining Cake Strips
Proper care extends the life of reusable cake strips and keeps DIY materials fresh:
- Reusable Cake Strips: Wash them with mild soap and warm water after each use, then air dry thoroughly before storing to prevent mildew.
- DIY Strips: If using towels, wash and dry them after every use. Store them in a clean, dry place. Aluminum foil strips can be reused a few times before discarding.
By following these tips, you can consistently bake cakes with smooth, even surfaces while extending the life of your baking tools.

Conclusion
Using cake strips is a simple yet effective way to solve common baking challenges, like domed tops and uneven layers. By understanding how wet cake strips should be—damp but not dripping—you can achieve perfectly flat and evenly baked cakes with ease.
Whether you use store-bought cake strips or create your own DIY version, the key is proper preparation and application. With tips for adjusting baking times, preventing soggy edges, and maintaining your tools, you’re well-equipped to get consistent, professional results every time.
So, the next time you bake, give cake strips a try. Your cakes will thank you, and your decorating process will be so much smoother with flat, even layers. Happy baking!
You May Also Like:
Here are some of the latest articles for further reading:
- Strawberry Tres Leches Cake
Dive into this heavenly dessert recipe that combines the classic tres leches cake with a burst of fresh strawberries. - Crockpot Recipes: Gnocchi and Chicken
Discover an easy-to-follow recipe for a cozy, hearty crockpot meal featuring gnocchi and tender chicken. - Do Nothing Bundt Cakes: Refrigeration Guide
Learn whether these popular cakes need to be refrigerated and the best ways to store them for freshness.